FxCop is one of the legendary code review tools which help us automate reviews using set of rules against compiled assemblies. It comes with a set of pre-defined rules based on Microsoft standard coding guidelines. But in real time all these rules may not be applicable to a project or there might be requirement to define some custom rules like a standard naming convention for different objects.

Recently I got one such requirement for a project that I am working and I started exploring how I can create custom rules for FxCop. Here in this article I will share my findings on the same.
In this example we will create a custom naming rule to check class level variables to start with certain prefix.
Step 1 -
Create new class library project. In this example I named it FxCopCustomRules.
Step 2 -
Add a reference to the FxCopSdk.DLL. You can find FxCopSdk.dll where FxCop is installed.
Step 3 -
FxCop expects rules to be defined in an XML file. Create CustomRules.xml file.Structure of a rule in the file is shown below.
Recently I got one such requirement for a project that I am working and I started exploring how I can create custom rules for FxCop. Here in this article I will share my findings on the same.
In this example we will create a custom naming rule to check class level variables to start with certain prefix.
Step 1 -
Create new class library project. In this example I named it FxCopCustomRules.
Step 2 -
Add a reference to the FxCopSdk.DLL. You can find FxCopSdk.dll where FxCop is installed.
using Microsoft.FxCop.Sdk;
Step 3 -
FxCop expects rules to be defined in an XML file. Create CustomRules.xml file.Structure of a rule in the file is shown below.
<?xml version="1.0" encoding="utf-8" ?>
<Rules>
<Rule TypeName="VarNameCheck" Category="Naming" CheckId="NameRule001">
<Name>Variable
Name Prefix</Name>
<Description>Class level variables should start with prefix.</Description>
<Owner>microsofttechpro</Owner>
<Url>http://microsofttechpro.blogspot.com</Url>
<Resolution> Rename the variable with suggested prefix. </Resolution>
<Email></Email>
<MessageLevel Certainty="99"> Warning</MessageLevel>
<FixCategories> Breaking </FixCategories>
</Rule>
</Rules>
Step 4 -
Define an abstract class that inherits from the FxCop API and initializes the resources defined in the XML file. You need to import the FxCop Sdk DLL in the class file. For defining custom rule, BaseIntrospectionRule class of FxCop need to be inherited. The constructor of the abstract class calls the parent constructor to which we need to pass rule class name, rules xml file resource and the class assembly.
This base class will be inherited by rule class and passes rule name to constructor.
Define an abstract class that inherits from the FxCop API and initializes the resources defined in the XML file. You need to import the FxCop Sdk DLL in the class file. For defining custom rule, BaseIntrospectionRule class of FxCop need to be inherited. The constructor of the abstract class calls the parent constructor to which we need to pass rule class name, rules xml file resource and the class assembly.
using Microsoft.FxCop.Sdk;
namespace FxCopCustomRules
{
internal abstract
class CustomBaseRule
:BaseIntrospectionRule
{
protected
CustomBaseRule(string ruleName)
: base(ruleName,
"FxCopCustomRules.CustomRules", typeof(CustomBaseRule).Assembly)
{
}
}
}
This base class will be inherited by rule class and passes rule name to constructor.
Step 5 -
Create new rule class and derive from our previously defined class.
Create new rule class and derive from our previously defined class.
namespace FxCopCustomRules
{
internal sealed
class VarNameCheck
: CustomBaseRule
{
public
VarNameCheck()
: base("VarNameCheck")
{
}
}
}
Step 6 -
Add visibility of the code elements property to the rule class. Normally it is fine to leave this at the default implementation of TargetVisibilities.All.
// Only fire on non-externally visible code elements.
Add visibility of the code elements property to the rule class. Normally it is fine to leave this at the default implementation of TargetVisibilities.All.
// Only fire on non-externally visible code elements.
public override TargetVisibilities TargetVisibility
{
get
{
return
TargetVisibilities.All;
}
}
Step 7 -
We also have to override the Check method. The Check method is called when every method is parsed. If there are any issues, we need to return back a problemcollection array which will be displayed in the FxCop UI.
Above code checks string and integer variables names starts with prefix str and int.
Step 8 -
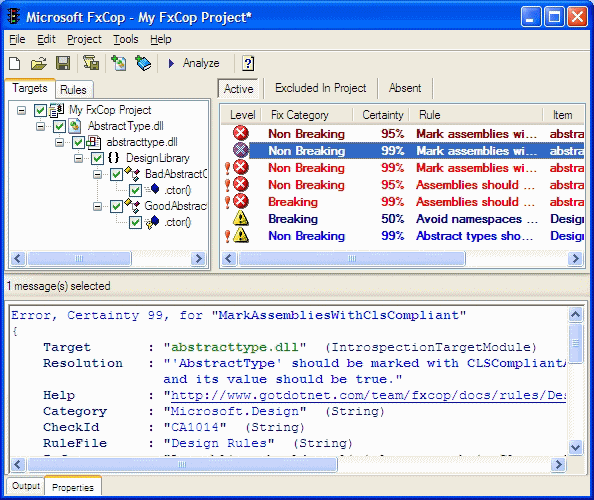
Compile the project and add the DLL as rule to FxCop.
We also have to override the Check method. The Check method is called when every method is parsed. If there are any issues, we need to return back a problemcollection array which will be displayed in the FxCop UI.
public override
ProblemCollection Check(Member member)
{
Field field = member as Field;
if (field == null)
return null;
if (field != null)
{
if
(field.Type == typeof(string)
&& field.Name.Name.StartsWith("str"))
{
Problems.Add(new Problem(GetResolution("str", "string
variable", field.Name.Name)));
}
if
(field.Type == typeof(Int32)
&& !field.Name.Name.StartsWith("int"))
{
Problems.Add(new Problem(GetResolution("int", "integer
variable", field.Name.Name)));
}
}
return Problems;
}
Above code checks string and integer variables names starts with prefix str and int.
Step 8 -
Compile the project and add the DLL as rule to FxCop.
0 comments:
Post a Comment